Dental Implant Recovery: Week-by-Week Guide to Getting Back to Your Normal Life
All-inclusive
Dental Implants
from€260US$300£220CA$420A$420NZ$510/implant

Dental Implant Recovery: Week-by-Week Guide to Getting Back to Your Normal Life
Dental implant surgery is one of the most successful and predictable procedures in modern dentistry, with success rates exceeding 95% when performed by experienced implant specialists. However, the journey from surgery to a fully functional new tooth requires patience, proper care, and understanding of what to expect during the recovery process. The recovery timeline for dental implants typically spans from several weeks to several months, depending on whether you receive an immediate load implant or follow the traditional delayed loading protocol. At Estetica Istanbul, our experienced partner implant surgeons guide patients through every stage of recovery, ensuring optimal healing and long-term success.
All-inclusive
Dental Implants
from€260US$300£220CA$420A$420NZ$510/implant
The concept of immediate loading versus delayed loading represents two different approaches to dental implant placement and restoration. Immediate loading, also known as same-day implants, allows patients to receive a temporary crown on the implant immediately after surgery, providing both functional and aesthetic benefits from day one. Traditional delayed loading involves waiting 3-6 months for complete osseointegration (the process by which the implant fuses with the jawbone) before the final crown is placed. Your candidacy for immediate loading depends on factors including bone density, implant stability, and the location of the implant. Most patients benefit from the delayed loading approach, which provides the most predictable long-term success.
Immediately after your dental implant surgery, during the first 24 hours, you'll experience some swelling, minor bleeding, and mild to moderate discomfort. This is completely normal and expected. Your dentist will provide detailed post-operative instructions, which typically include applying ice to the cheeks for 20 minutes every 2 hours for the first 24 hours to minimize swelling. Most patients can control discomfort with prescribed pain medication and over-the-counter analgesics like ibuprofen or paracetamol. It's crucial to avoid strenuous activity, heavy lifting, and exercise during this initial recovery period to prevent complications.
Week One: Managing Pain and Swelling The first week after implant surgery is focused on managing pain and swelling while allowing the surgical site to begin healing. Most patients experience peak swelling around day 2-3 after surgery, which then gradually subsides throughout the week. Continue ice therapy for the first 48-72 hours, then switch to warm compresses to promote blood circulation and healing. Take prescribed antibiotics exactly as directed to prevent infection—this is critical for implant success. Stick to soft, cool foods like yogurt, smoothies, ice cream, and mashed potatoes, avoiding anything hot, spicy, hard, or sticky. Avoid rinsing, spitting, or touching the surgical site, as this can disturb the blood clot that is essential for healing.
Week Two: Beginning Normal Eating By the second week, you can usually begin introducing slightly more substantial soft foods into your diet, though you should continue avoiding hot foods and anything that requires significant chewing on the implant side. Gentle oral hygiene is important—carefully brush your other teeth, but avoid the surgical area. You may experience some slight bleeding when rinsing, which is normal. Most patients can return to light work or desk-based activities during week two, though you should still avoid strenuous exercise and heavy lifting. Some residual swelling and minor discomfort may persist, but should be markedly improved compared to the first week.
Weeks Three to Four: Returning to More Normal Activities By week three and four, most patients notice significant improvement in healing. Swelling should be minimal, and you can usually return to your normal work activities if your job doesn't involve physical labor. You can gradually introduce more solid foods, though you should still avoid chewing directly on the implant site—focus your chewing on the opposite side of your mouth. Most patients can return to light to moderate exercise activities like walking or gentle gym work. However, you should still avoid contact sports, heavy weightlifting, or any activity that could impact your face or mouth. Continue careful oral hygiene, and if you received a temporary crown, take extra care to keep it clean without disturbing the implant.
Weeks Five to Twelve: Approaching Osseointegration Completion Between weeks 5-12 post-surgery, the critical process of osseointegration accelerates. During this phase, new bone cells gradually integrate around the implant, creating a strong, stable foundation. By week 8-12, the majority of osseointegration is typically complete, though the process continues at a slower pace for several more months. You can usually return to all normal activities, including more vigorous exercise, sports, and contact activities (though you should still be careful to avoid direct facial impacts). Your diet can return to completely normal, though continued attention to the surgical site during oral hygiene is important. Most patients receive their final crown placement between weeks 12-16 after surgery, once sufficient osseointegration has occurred.
Months Three to Six: Final Crown Placement and Beyond Once osseointegration is substantially complete (usually 3-6 months post-surgery), you're ready for the final crown placement. Your dentist will remove the temporary crown or healing abutment, take final impressions, and have your permanent crown fabricated to match your existing teeth perfectly. The final crown is then secured to the implant with either a screw (screw-retained) or cement (cement-retained), and you can immediately resume normal chewing on that side of your mouth. The implant will continue to strengthen over the next year, achieving maximum stability and longevity. After the first year, most patients experience virtually no limitations in eating, speaking, or smiling.
Flying and Travel After Implant Surgery If you're a medical tourism patient from abroad—whether from Europe, the UK, or beyond—you likely want to know when you can safely return home. Most patients can fly home after 7-10 days post-surgery, once initial healing has progressed and you feel comfortable traveling. Taking a commercial flight involves sitting for extended periods, which can increase swelling, so it's best to wait until swelling has substantially diminished. Before flying, confirm with your surgeon that you're cleared for travel. During your flight, keep your head elevated when possible, stay hydrated, avoid hard and crunchy foods (the cabin environment can make your gums more sensitive), and take pain medication if needed. After arriving home, continue all post-operative care instructions and attend any follow-up appointments your surgeon has scheduled.
Diet Progression: What You Can Eat When Understanding appropriate dietary progression is crucial for successful healing. Days 1-7: Soft, cool foods only (smoothies, yogurt, soft mashed foods, soup). Weeks 2-4: Gradually introduce soft foods that don't require chewing on the implant side (eggs, fish, pasta, soft vegetables). Weeks 5+: Return to normal diet, though continue avoiding the very hardest and stickiest foods. Throughout recovery, avoid very hot foods and beverages for the first 2 weeks, as heat can increase blood flow and potentially restart bleeding. Avoid smoking and alcohol, as these significantly impair healing and increase infection risk. Alcohol also interacts with pain medications, making them more dangerous.
At Estetica Istanbul, we provide each dental implant patient with a comprehensive recovery guide, detailed post-operative instructions, and regular check-up appointments to monitor healing and ensure optimal results. Our partner clinics' state-of-the-art facilities, experienced partner implant surgeons, and all-inclusive packages make dental implant restoration an accessible, predictable solution for missing teeth. Whether you're replacing a single tooth or undergoing full mouth implant restoration (All-on-4 or All-on-6), understanding the recovery timeline helps set realistic expectations and ensures you achieve the best possible long-term outcome.
Recovery has more than one finishing point
Feeling better, healing of the gum and readiness for a final restoration are different milestones. A temporary tooth can improve appearance without meaning the implant is ready for unrestricted chewing. Ask the dentist to explain which stage you are in and how the next stage will be assessed.
The Cambridge University Hospitals implant leaflet describes placement, possible complications and the need for healing before restoration. Individual timing depends on the treatment plan.
Before surgery: understand what is being placed
Ask whether your plan includes extraction, implant placement, bone grafting, a healing component, a temporary restoration or a final crown. These are separate steps and may happen on different visits. Record which stages are included in the price and which require a return trip.
A bridge or removable denture may be an alternative to an implant in some circumstances. Ask how those options compare for your remaining teeth, daily cleaning and maintenance. An implant is not automatically the right choice simply because a tooth is missing.
If a bone graft is proposed, ask why, when it will be assessed and how it affects your schedule. The CUH bone-grafting information explains that enough bone is needed to support implant placement. A travel plan should allow for the recommended sequence rather than assume grafting and final teeth fit one short visit.
The first days: follow the instructions for your procedure
Get written instructions for cleaning, rinsing, eating, medicines and activity before discharge. A full arch with a temporary bridge needs different practical advice from one implant without a tooth attached. Ask where you may chew and how to clean around the temporary work.
Tell the dentist about blood-thinning medicines, allergies and any difficulty taking prescribed medication. Do not start antibiotics, stop anticoagulants or change doses because a generic article recommends it. Ask what to do if you miss a dose, vomit or develop a possible medicine reaction.
Keep a short symptom record: pain trend, swelling, bleeding and whether you can eat and drink. A useful question is whether symptoms are improving as expected, not whether they resemble an online photograph. Ask which changes require a same-day assessment. Increasing swelling, fever, persistent bleeding or severe worsening pain should be assessed; difficulty breathing is an emergency.
Travel clearance is an individual clinical decision
Agree a review before departure and ask whether additional surgery, sinus involvement or an unexpected recovery changes the flight plan. Do not interpret the end of hotel coverage as permission to fly. Keep access to the clinic until the treating dentist has assessed the relevant concerns.
Carry your instructions and medicines in hand luggage and check airline and border requirements for prescribed drugs. Arrange access to dental care at home. Ask for the implant system, component details, treatment record and relevant images so a future clinician can identify the work.
Budget for the restoration, not just the implant fixture
As of October 2026, the published dental implant starting price is €260 per implant, with no hotel in that base item. It is not the total price of a restored tooth or a full arch. Ask separately about the abutment, crown, temporary work, imaging, grafting and each visit.
The quote must state included stages. Exclusions include international flights, accommodation unless agreed, Deniz nights at €70 per night, Antwell upgrade at an additional €40 per night, unquoted treatment, later complication care and return travel unless written terms cover them.
Does no pain mean I can chew normally?
No. Ask the dentist what loading is permitted; comfort alone does not establish readiness.
Can a remote photograph confirm integration?
It cannot replace every clinical test or image needed to decide on restoration. Ask which checks require attendance.
When do I book the second trip?
Ask for the expected sequence, then confirm dates after the required healing assessment. Request a free initial assessment with photographs, dental history and the medical form for a written staged proposal.
Discuss healing factors before fixing your recovery dates
Tell the treating dentist about smoking and medical conditions before the schedule is agreed, even if your main concern is how soon you can work again. Ask how these details affect your proposed treatment and recovery plan.
Ask whether any aspect of your health needs assessment or management before placement, and what support is appropriate if stopping smoking is difficult. Request advice from the treating dentist about pre-treatment assessment and coordination with your regular prescribers rather than adopting a medication change from a general recovery article.
Make the healing reviews part of the plan
Request a written appointment schedule showing who checks the surgical site, whether any stitches need attention, and which review decides the next restorative step. Identify which appointments can take place at home, how the findings will reach the treating dentist and what those appointments will cost. This makes follow-up a practical arrangement rather than a vague instruction to wait several months.
What if a temporary tooth or healing component feels loose?
Ask the dentist before discharge how to respond to a loose temporary tooth or healing component, and where to obtain an examination if the partner facility is far away. Clarify who pays for that assessment and how to reach the treating team. The FDA's dental implant guidance provides further questions to discuss with your dental provider.
Get Your Free Consultation
Our partner medical team will review your case and send you a personalized treatment plan.
Your Journey. Our Hands.
From your first message to your flight home — we run the logistics. You focus on the result you came for.

Free Consultation
Send us photos and your goals on WhatsApp. We review them with the partner medical team and send a detailed, written all-inclusive quote. No payment to get your quote.
We Handle the Logistics
Once you decide, we book your hotel and VIP transfers; you book your own flight (not included) and we help you choose the right dates. Pre-op tests, hospital admission, English-speaking support — all arranged before you land.
Partner healthcare institutions
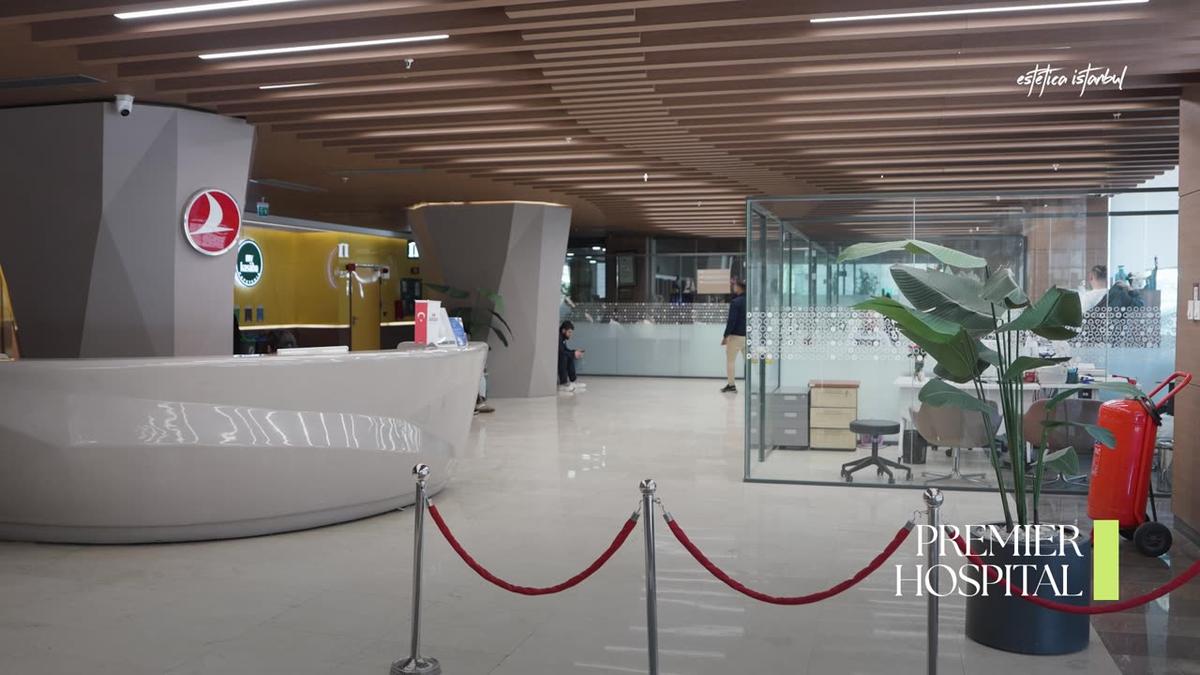
Your operation takes place inside a fully accredited hospital — dedicated anaesthesia and nursing teams, intensive care on the same floor, international safety standards. Never a back-street day-clinic.
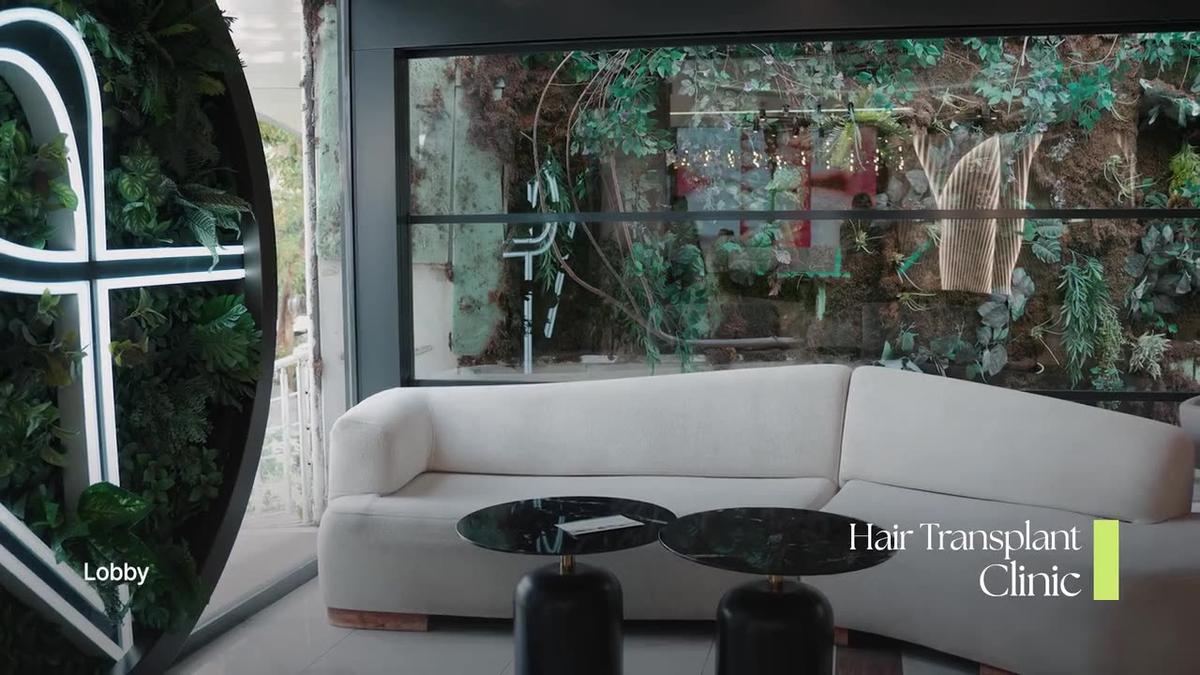
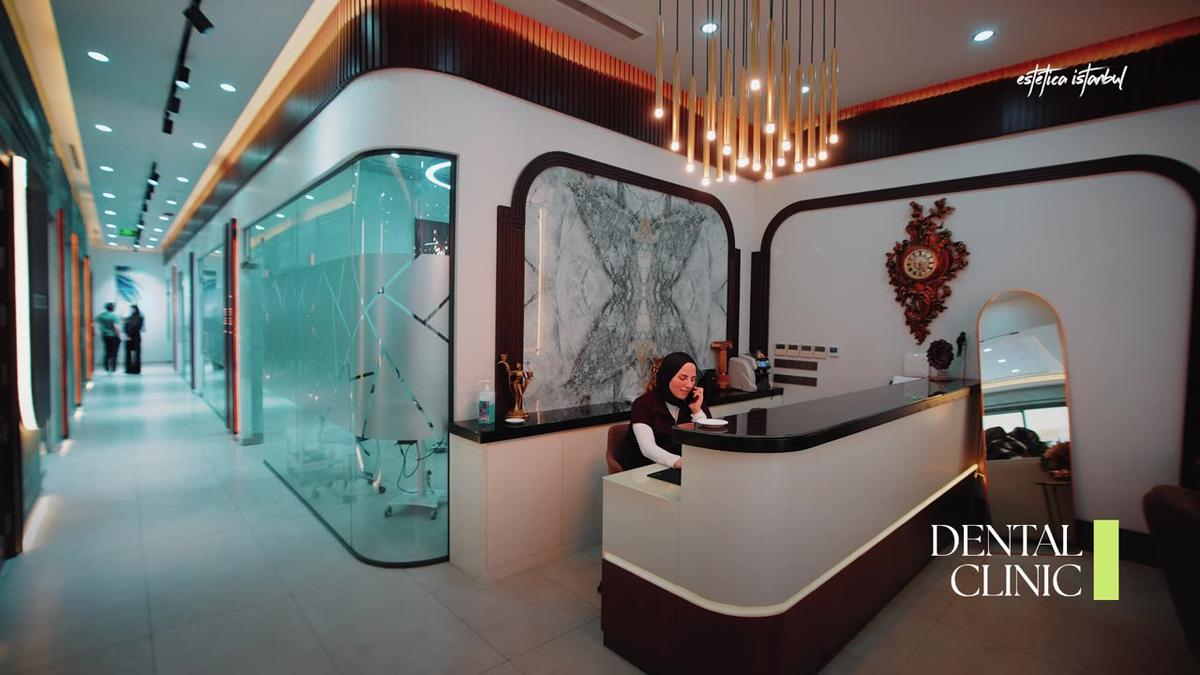
Specialist Clinics for Smile & Hair
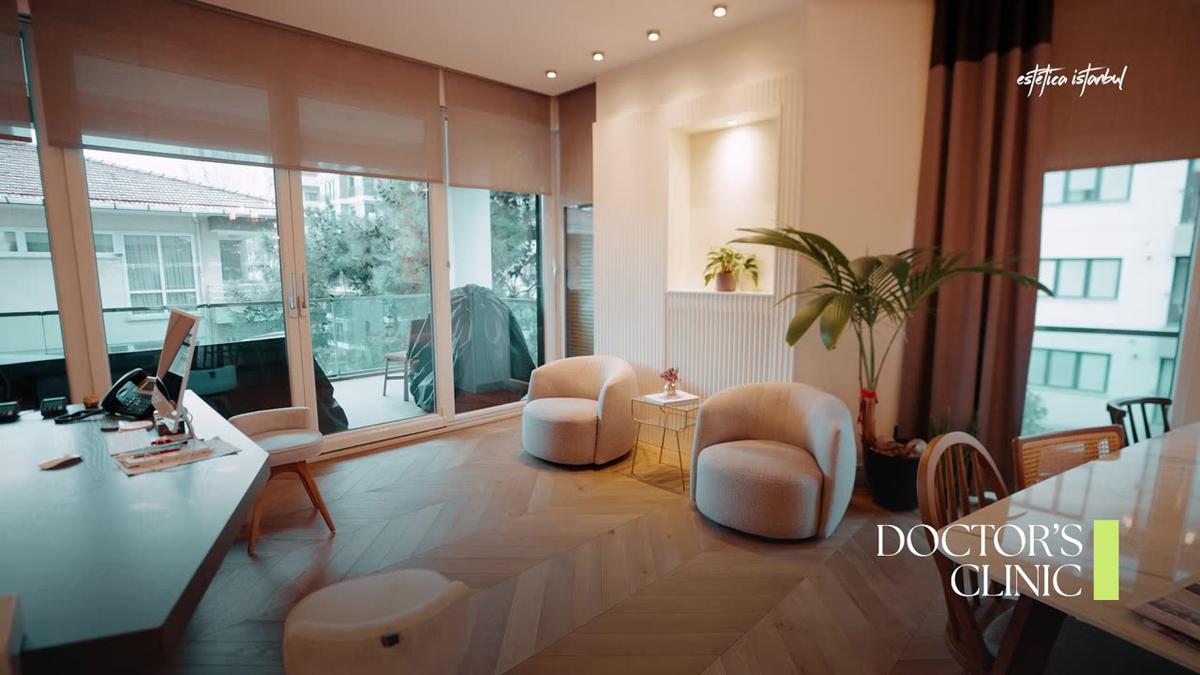
Non-surgical treatments happen at purpose-built venues — our dedicated partner dental clinic for veneers, crowns and implants, and our partner hair restoration clinic for transplants. Each run by teams who do only that, every day.
Recovery, Follow-Up & Your Smile
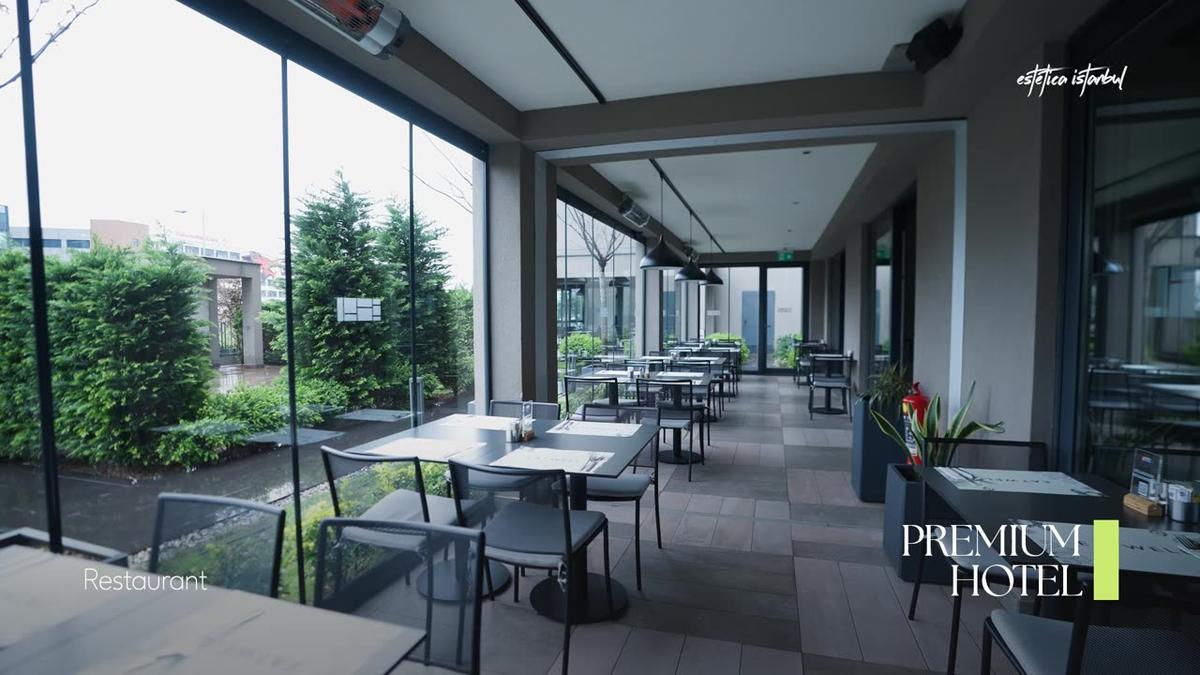
You recover in a hotel with on-site medical care, then fly home. We follow up remotely for a full year — and if a complication arises, we cover remote consultations with your surgeon and, in rare cases, revision surgery — with the Antwell upgrade.
Free Consultation
Send us photos and your goals on WhatsApp. We review them with the partner medical team and send a detailed, written all-inclusive quote. No payment to get your quote.
We Handle the Logistics
Once you decide, we book your hotel and VIP transfers; you book your own flight (not included) and we help you choose the right dates. Pre-op tests, hospital admission, English-speaking support — all arranged before you land.
Partner healthcare institutions
Your operation takes place inside a fully accredited hospital — dedicated anaesthesia and nursing teams, intensive care on the same floor, international safety standards. Never a back-street day-clinic.
Specialist Clinics for Smile & Hair
Non-surgical treatments happen at purpose-built venues — our dedicated partner dental clinic for veneers, crowns and implants, and our partner hair restoration clinic for transplants. Each run by teams who do only that, every day.
Recovery, Follow-Up & Your Smile
You recover in a hotel with on-site medical care, then fly home. We follow up remotely for a full year — and if a complication arises, we cover remote consultations with your surgeon and, in rare cases, revision surgery — with the Antwell upgrade.